Dave's Hots Chickens · Kitchen & Tools
Kitchen Tools for Home Fried Chicken
A heavy pot, a thermometer, and a rack are the whole list. This page covers what actually matters, what you can skip, and where one modest upgrade changes the crust.
The pot matters more than the fryer
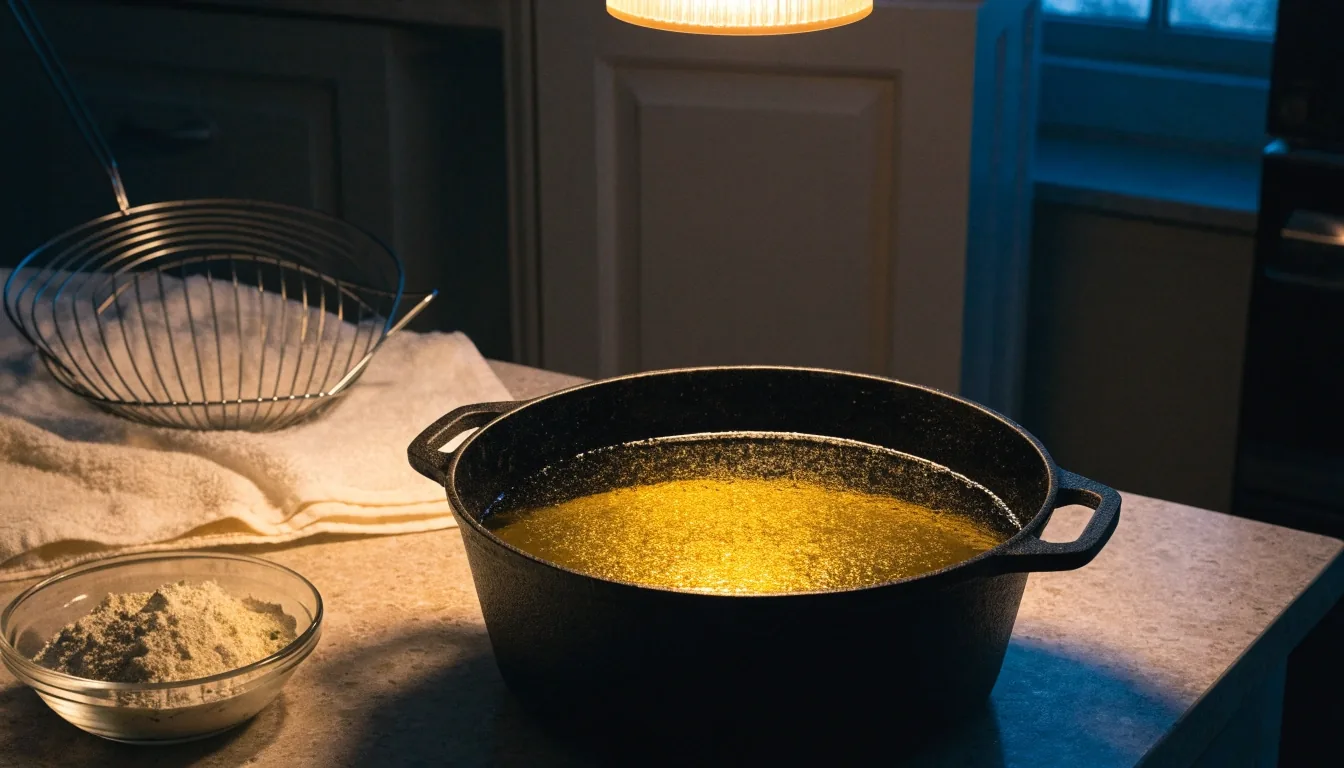
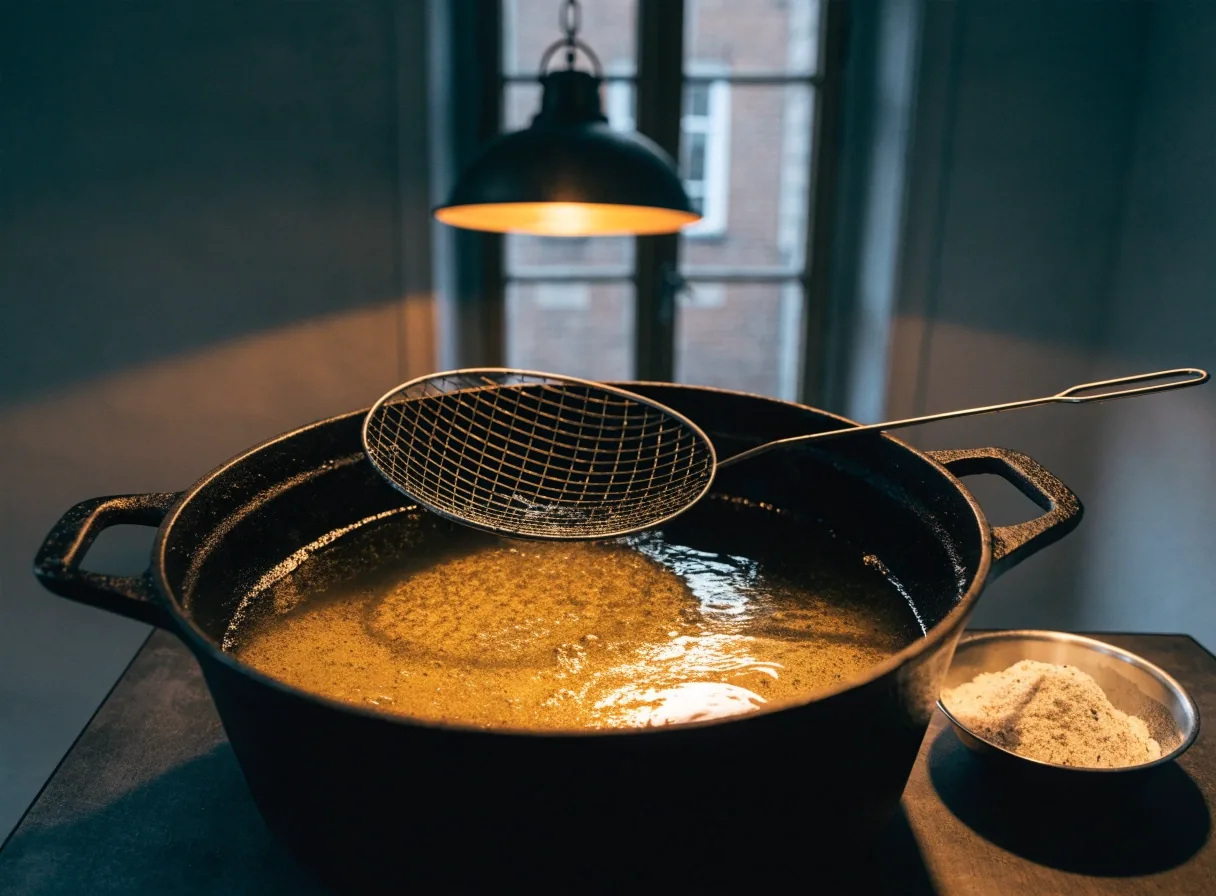
A deep Dutch oven or a heavy cast-iron skillet holds heat better than a thin stockpot, and that stability is what keeps oil temperature from swinging when chicken goes in. A 5- to 6-quart Dutch oven handles a whole cut-up bird in batches. A 12-inch cast-iron skillet works for strips, nuggets, and cutlets and uses less oil.
An electric deep fryer is fine if you already have one. It is not an upgrade over a good pot, and it is harder to clean. If you are starting from nothing, buy the pot.
The one upgrade
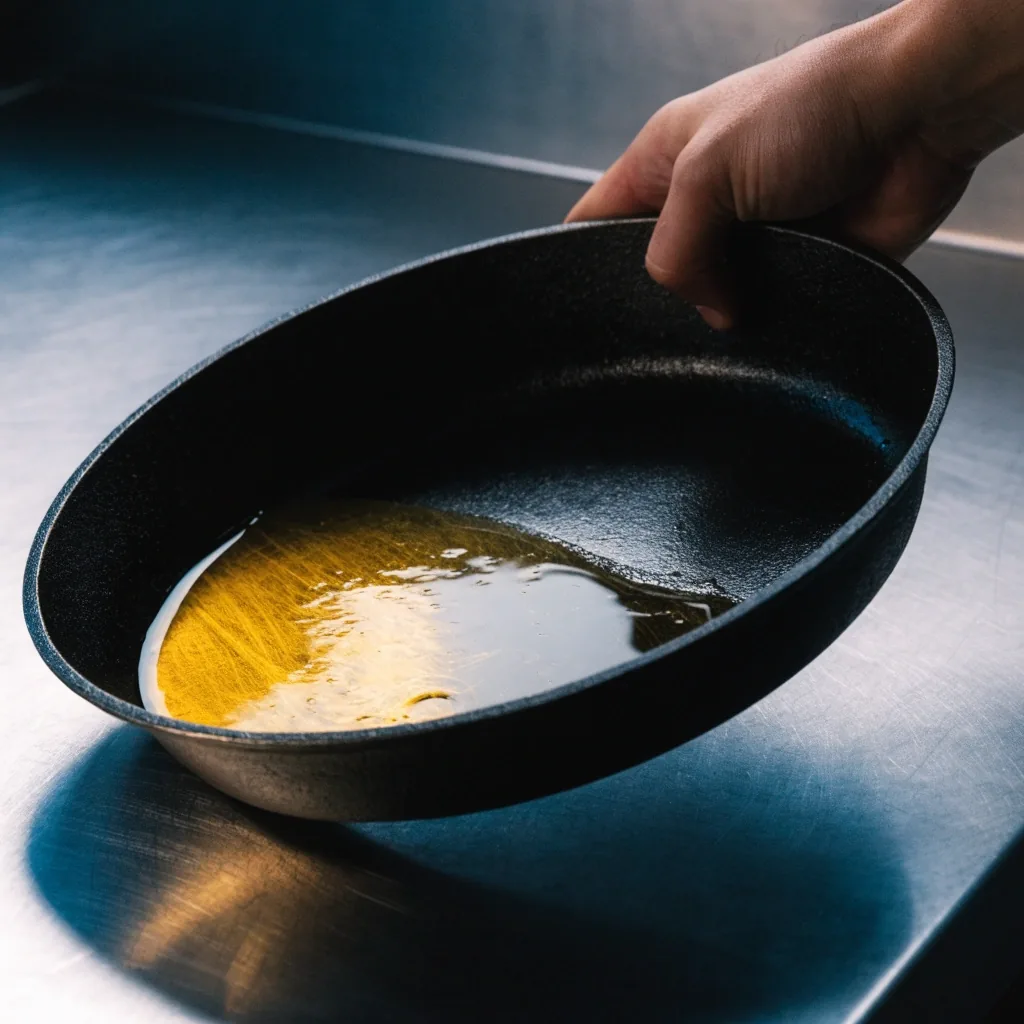
Thick walls and a wide base give you a steady oil temperature between batches. Everything else in this guide is convenience.
Guesswork is the real enemy
Frying without a thermometer means guessing, and guessing produces greasy or burnt batches. Between an oil thermometer and a meat thermometer you stop relying on color and time alone — the two least reliable signals in a home kitchen.
Thermometers: one for oil, one for meat
A clip-on oil thermometer is the single most useful tool in this collection. The meat probe comes second. Neither costs much, and together they remove the two guesses that ruin most batches.
Clip-on oil thermometer
A basic dial thermometer that clips to the pot rim is enough. It tells you when the oil is ready and when it has dropped after a batch goes in, so you can wait instead of turning up the heat.
Digital instant-read thermometer
This is the one you use on the meat, not the oil. Push it into the thickest part of the piece and read the number. It is the second purchase worth making, and the one that keeps wings juicy instead of dry.
Oven thermometer (optional)
Only useful if you finish batches in the oven. Most home ovens run a little off; if yours does, knowing the real number keeps the second stage predictable.
Racks, tongs, and draining
A wire rack over a sheet pan
Paper towels trap steam and soften the bottom of the crust, which undoes the work you just did. Let pieces drain on the rack, not on the plate.
Tongs with a real grip
Turn pieces without puncturing the coating. A puncture lets oil in, and the crust goes soft exactly where the juice runs out.
A spider skimmer and a second pan
Useful for nuggets and small pieces, but not essential. Keep a second sheet pan ready: fried chicken should not sit in a pile.
Flour, cornstarch, and the dredge setup
You need two shallow dishes: one for the buttermilk wash, one for the seasoned flour. Pie plates or shallow bowls both work. Keep one hand for wet and one for dry, and you avoid the flour-glove problem that makes dredging miserable.
Cornstarch in the flour mix adds crispness. It is optional but cheap, and it makes a noticeable difference on strips and wings. Give the coated pieces a few minutes to rest before they hit the oil — dry patches are where the crust separates.
- Buttermilk wash dish Wet hand only
- Seasoned flour dish Dry hand only
- Cornstarch, a few tablespoons Crispness on strips and wings
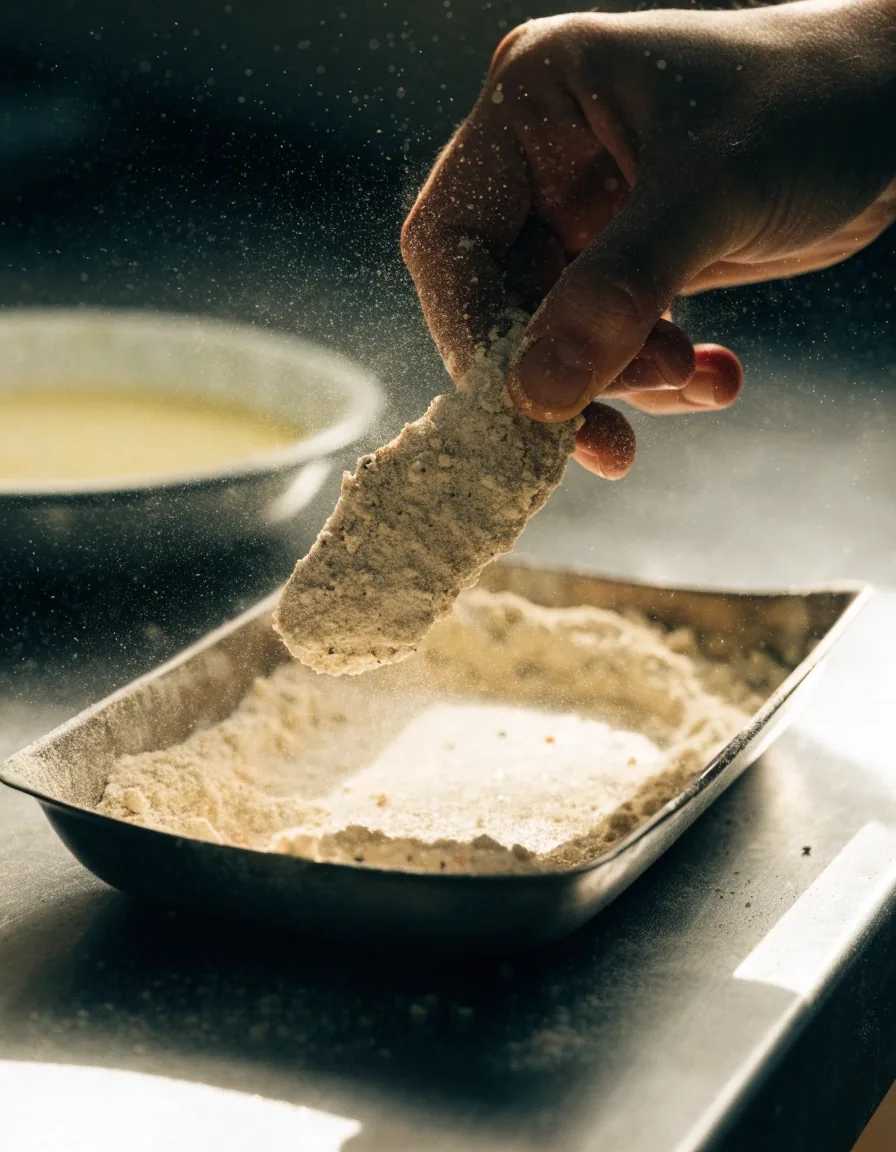
Wet hand, dry hand
Two shallow dishes, one job each. This single habit is the difference between a clean dredge and a counter covered in paste.
Oil choices and reuse
Fry with
Peanut, canola, and vegetable oil all work. Peanut oil handles heat well and adds a faint nuttiness that suits fried chicken. Pick one neutral oil and stay with it so your results stay repeatable.
Leave it out
Olive oil does not belong here. Its smoke point is too low for a full batch, and the flavor fights the spice in the dredge. Save the good bottle for the table.
Reuse it
You can reuse frying oil two or three times if you strain it after it cools and store it in a dark bottle. Oil that smells off or has darkened significantly should be discarded.
Pantry staples for the collection
The recipes lean on a short list. Nothing on it requires a specialty store — if you keep these on hand, you can cook any recipe in the collection without a separate shopping trip.
One more line for the list: a neutral oil for frying. Buy the size you will actually use — a fresh bottle beats a half-used one that has been sitting in the cupboard since last summer.
Small upgrades that pay off
None of these change the result. They change how much you enjoy the process, which matters if you plan to fry regularly.
A splatter screen
Keeps the stovetop manageable during a batch of wings. The oil still moves, the mess stays contained, and you can stand closer to the pan while you work.
A cutting board for raw chicken only
Simplifies cleanup and food safety. One board, one job, washed hot after every session — no crossovers with the vegetables.
A bench scraper
Makes short work of cleaning dried dredge off the counter. A dollar's worth of metal that saves you five minutes of scrubbing at the end of the night.
If you cook Hots chicken once a month, skip all three. If it becomes a Friday habit, the splatter screen is the one you will notice first.
What you can skip
The recipes assume a normal home kitchen, and they work in one. These are the purchases that look helpful and rarely are.
Air fryers
They do not produce the crust this collection is built around. The hot moving air dries the coating instead of frying it.
A countertop deep fryer
Not necessary if you own a Dutch oven. It takes up cabinet space and adds a cleaning job that a pot and a rack do not have.
Fancy breading stations
Two shallow dishes and a sheet pan do the same job. Specialized tongs and dredging trays add storage without adding a better crust.
A second thermometer for the oil
One clip-on dial is enough for the pot. Spending more on a second oil probe does not make the oil hold its temperature any better.
Questions before you start
Short answers to the things people ask most about setting up a home fry station.
Do I need a deep fryer to make these recipes?
No. A 5- to 6-quart Dutch oven or a 12-inch cast-iron skillet does the job. What matters is the thickness of the walls and a thermometer to watch the oil.
How much oil does a batch actually need?
Enough to come about halfway up the pieces, so they turn golden on both sides as you rotate them. A skillet batch of strips uses noticeably less than a Dutch oven full of wings.
Can I use the same oil for wings and nuggets?
Yes, within one session, as long as you skim the stray flour between batches. Strain it once it cools if you plan to fry again within a couple of weeks.
Where should I start if my kitchen is bare?
Pot, oil thermometer, wire rack, sheet pan, two shallow dishes, tongs. Add the meat thermometer next. That set covers every recipe in the collection, including the breaded chicken.
Does any of this change the recipe results?
Only the pot and the thermometers change the crust. The rest — racks, screens, scrapers — change how pleasant the process is and how much you have to clean afterward.
Start here
Cook the collection in your own kitchen
The tools on this page are the whole setup. Take the sample recipe first and see how the technique reads in your own kitchen before you commit to the full collection.
Keep going
Dave's Hots Chickens · 855 Peachtree St NE, Atlanta, GA 30308, USA
Monday–Friday 9:00 AM – 6:00 PM · Saturday 10:00 AM – 4:00 PM · Sunday closed