
A hand holding a thermometer probe into a kettle of frying oil in a dark kitchen

Dave's Hots Chickens — Atlanta

Fried Chicken Techniques That Hold Up at Home

Recipes are a sequence. Technique is knowing which part to change when something goes wrong — brine, dredge, fry, finish.

See the full recipe collection

Why technique beats recipes

Most problems home cooks run into trace back to one of four stages — brining, dredging, frying, and finishing — and most of them are fixable in the moment once you know what to look for. This page covers the four stages that decide whether your fried chicken comes out crisp and juicy or pale and dry.

Read it once before your first batch, then keep it nearby while you cook. Practice on nuggets first, since they are cheap and fast. Move to strips, then wings, then bone-in. By the fourth batch you will be correcting by sight and sound instead of checking a timer.

Stage one — brine

Why brining changes the meat

Chicken loses moisture as it cooks, and lean cuts like tenderloin lose it fastest. A brine puts salt and liquid back into the muscle before frying, so there is more water to lose before the meat turns dry.

Buttermilk does double duty: the acid tenderizes the surface slightly while the dairy coats the meat and helps the flour stick. Timing matters more than most people expect — thirty minutes in buttermilk is enough for cutlets and nuggets. Bone-in pieces benefit from a few hours, and overnight is fine if you keep them cold. Past a day, the texture starts to go soft in a way that reads as mushy rather than tender.
Stage two — dredge

Building a dredge that stays on

Breading falls off for one reason: it never bonded to the meat. The fix is a wet-then-dry sequence with a rest in between. Dip the brined piece in a buttermilk wash, then press it into seasoned flour with your fingers, turning and packing the flour into every surface.

Shaking in a bag gives you an even coat that slides off the first time you turn the piece in the oil. After dredging, let the coated pieces sit on a rack for ten to fifteen minutes. The flour absorbs moisture from the wash and turns into a paste that grips the meat.

Stage two, continued

Double dredge and crust structure

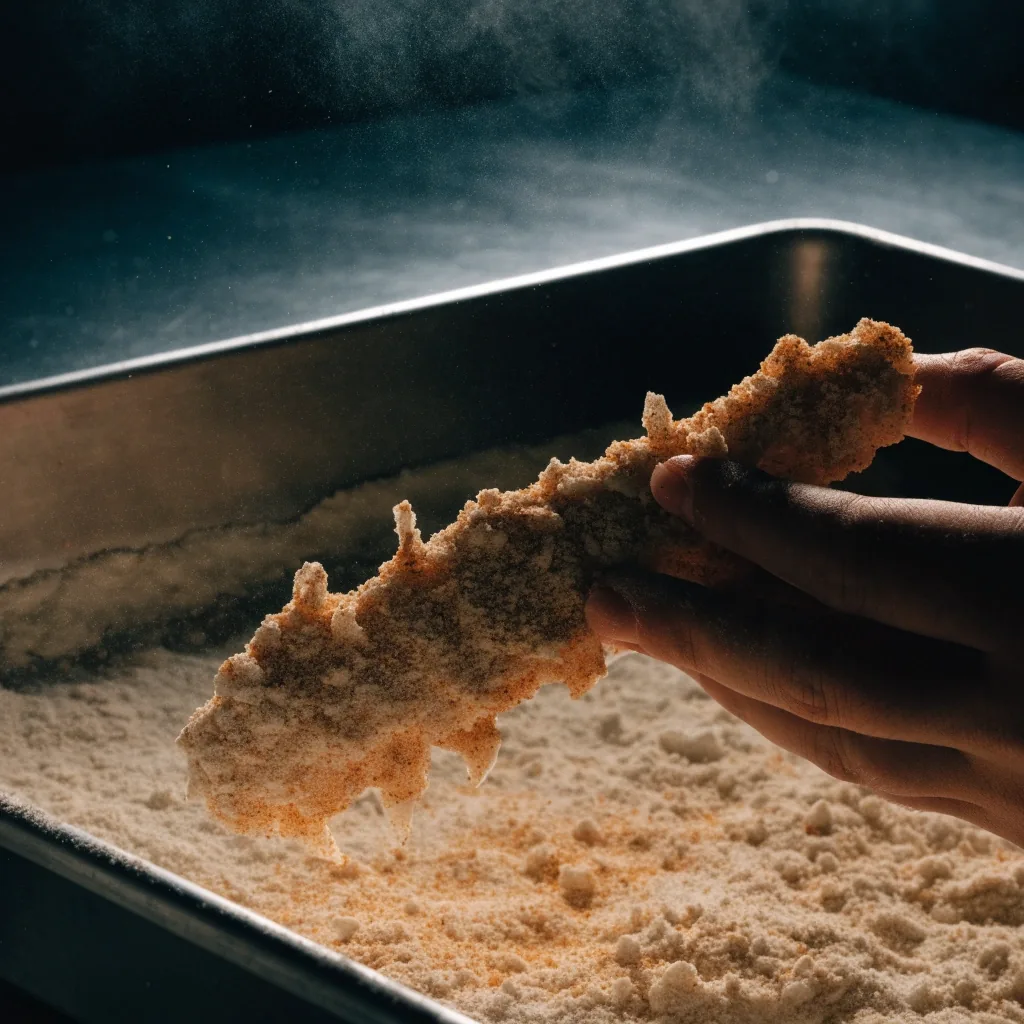
A double dredge means two passes through the flour, with a light wash in between. The result is a thicker, more irregular coating with more surface area, which is what produces a craggy crust rather than a smooth shell. More surface area also means more crunch and better sauce adhesion.

Thicker is not automatically better. A heavy double dredge needs a slightly lower oil temperature so the coating cooks through before it burns. The technique guide pairs each dredge style with a temperature range, because the two decisions are linked.

Close macro of a craggy golden fried chicken crust under amber rim light

Oil temperature and the two-stage fry

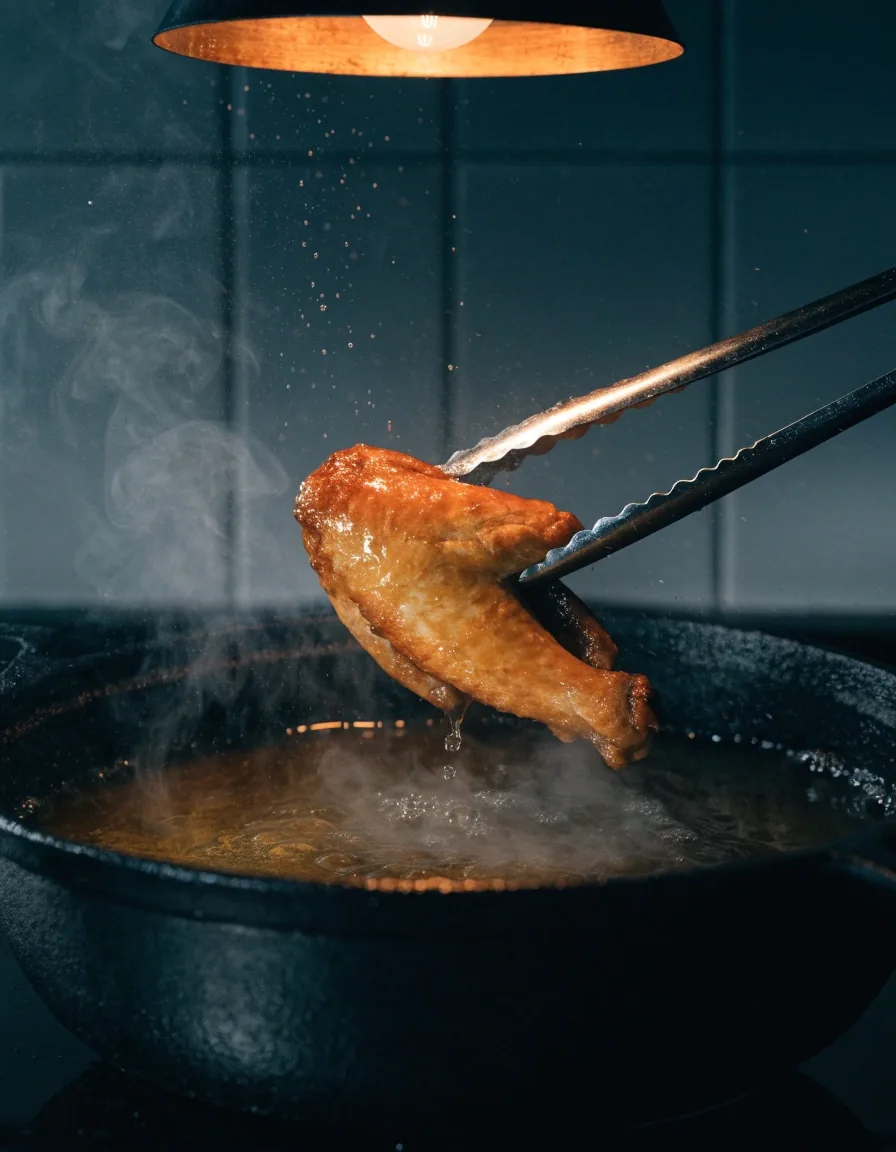
Oil temperature is the variable that decides everything else. Too low and the coating soaks up oil before it sets, leaving you with greasy chicken. Too high and the outside darkens before the inside cooks. A clip-on thermometer takes the guesswork out, and it is the one piece of equipment worth buying before anything else.

The two-stage fry, common in Korean-style chicken, runs a lower first pass to render fa and cook the meat partway, then a higher second pass to build the crust. It takes longer and it works. If you only ever fry one way, fry this way for wings.

Reading the oil, not the clock

Hold the probe in the oil, not against the kettle wall, and let it settle before you trust the number. Small batches keep the temperature from dropping when cold chicken goes in — crowding the pot is the fastest way to lose a good fry.

  • First pass, wings and bone-in Lower heat — renders fa, cooks the meat partway
  • Second pass, everything Higher heat — builds the craggy crust
  • Heavy double dredge Slightly lower — coating must set before it burns
  • Nuggets and cutlets Steady and quick — they cook through fast
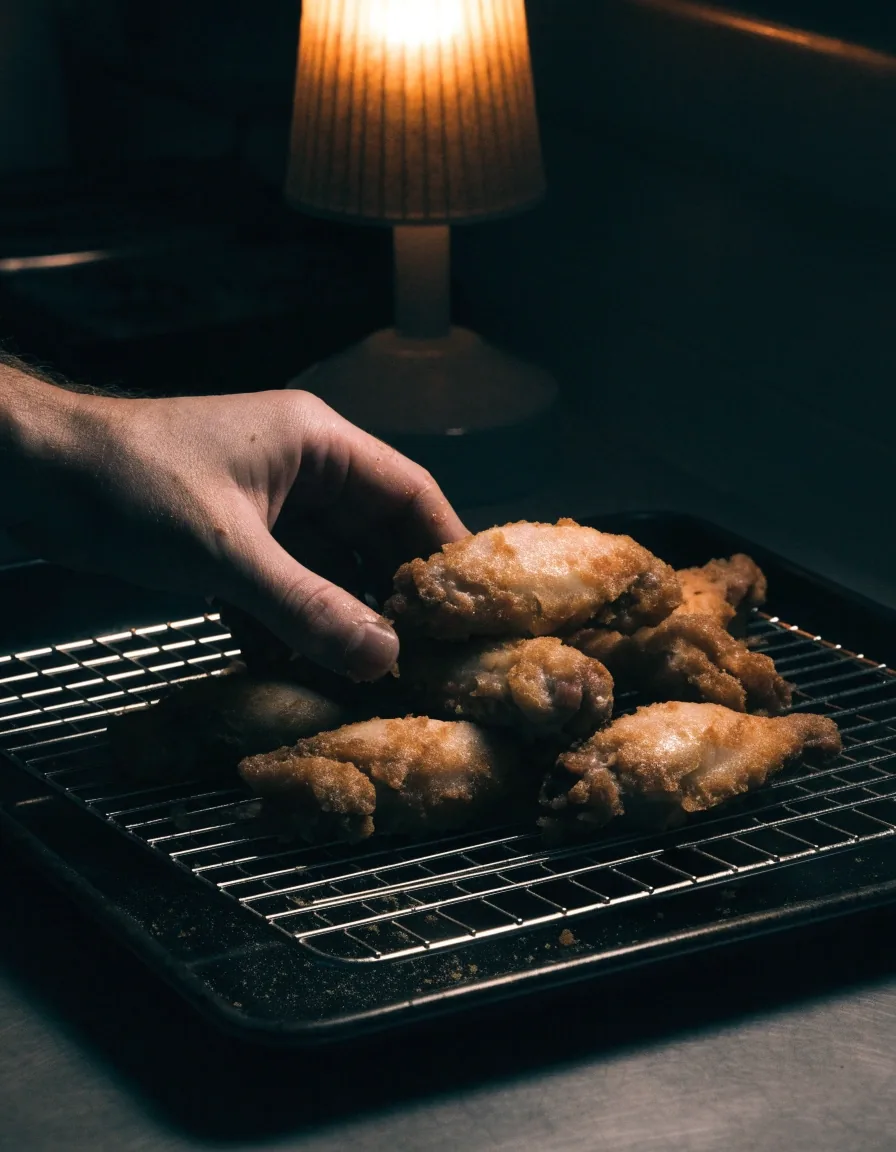
Dredged chicken pieces resting on a wire rack under a single amber lamp

Stage three, continued

Resting and draining

Fried chicken keeps cooking after it leaves the oil. Resting it on a wire rack lets the residual heat finish the inside while the crust vents steam. A paper towel on a plate traps that steam underneath and softens the bottom of the coating, which is why the recipes call for a rack.

Give the pieces five minutes before you cut in. That rest also lets the juices redistribute, so the first bite is not the only juicy one.

Troubleshooting

Keeping coating from falling off

If your breading slides off in the pan, check three things: whether the meat was dry before the wash, whether the flour rested long enough, and whether the oil was hot enough when the piece went in. A wet surface dilutes the wash. Unrested flour stays powdery. Cold oil lets the coating sink before it sets.

Fix all three and the problem mostly disappears. For bone-in pieces, scoring the skin lightly in a few places also helps the coating grip and lets fa render out.

Heat management and finishing spice

Heat belongs in the finish, not the breading. Cayenne in the flour burns before the chicken is done. Applying heat after frying, as a spiced oil or paste brushed over the crust, gives you control and lets one batch serve several heat levels.

Nashville hot chicken is built exactly this way, which is why the style is easy to scale up or down at home. Fry plain, finish to taste. The heat level guide covers the ratios.

Read the heat level guide

What holds up over time

The core method does not change between formats. Brine, dredge, fry, rest. Once those four stages are automatic, learning a new flavor is a matter of adjusting a spice blend rather than relearning a recipe. That is the difference between collecting recipes and building a skill.

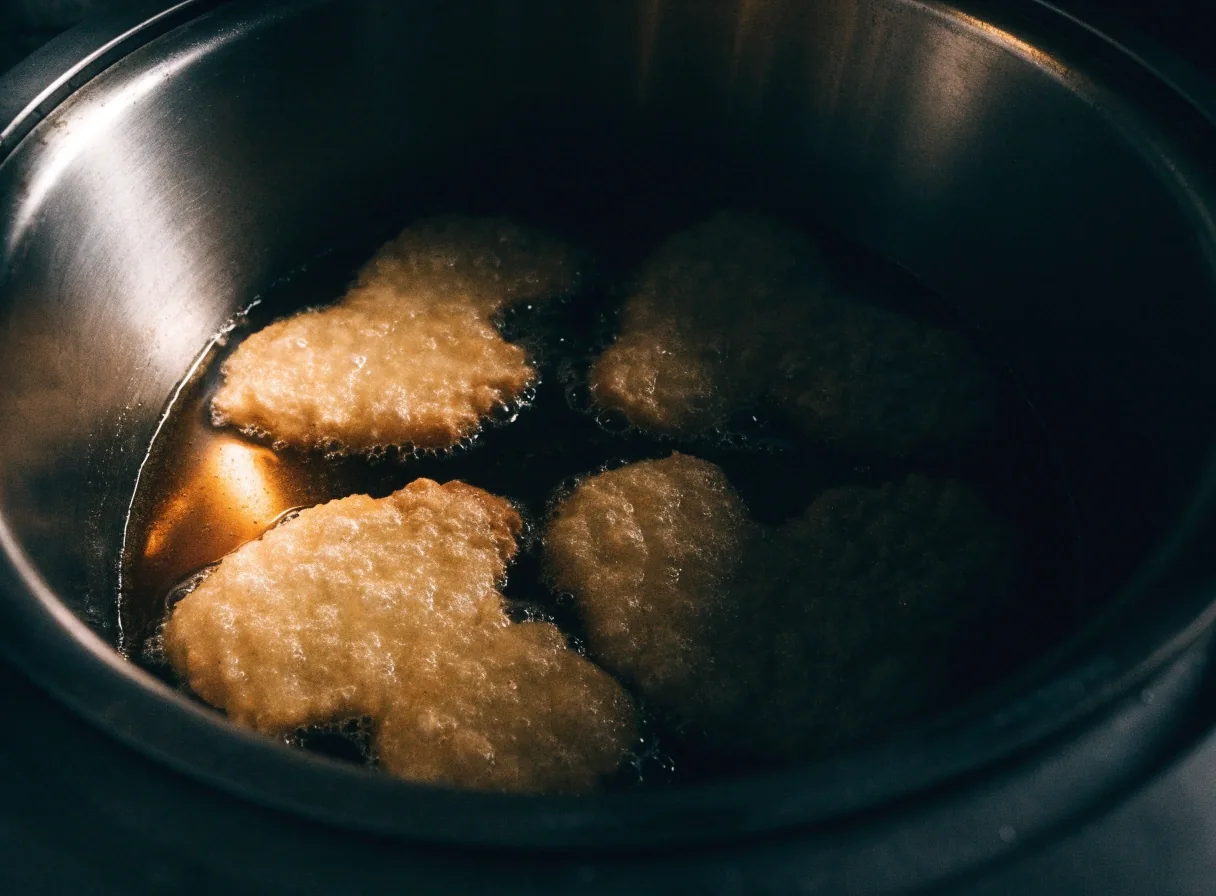
Battered chicken pieces browning in a steel kettle of hot oil

Questions that come up in the kitchen

Short answers to the things home cooks ask most often once they start frying in earnest.

How long should chicken sit in the buttermilk brine?

Thirty minutes is enough for cutlets and nuggets. Bone-in pieces benefit from a few hours, and overnight works if you keep them cold. Past a day, the texture turns soft in a way that reads as mushy rather than tender.
Why does my breading slide off in the pan?

Check the meat was dry before the wash, the flour rested ten to fifteen minutes, and the oil was hot enough when the piece went in. A wet surface dilutes the wash, unrested flour stays powdery, and cold oil lets the coating sink before it sets.

Is a double dredge always better than a single one?

No. A double dredge gives you a thicker, craggier crust with more surface area, but it needs a slightly lower oil temperature so the coating cooks through before it burns. The dredge style and the temperature are linked decisions.

Can I put the cayenne in the flour instead of the finish?

You can, but cayenne in the flour burns before the chicken is done. Applying heat after frying as a spiced oil or paste brushed over the crust gives you control and lets one batch serve several heat levels.

What should I cook first if I am new to this?

Nuggets, then strips, then wings, then bone-in. Nuggets are cheap and fast, so mistakes cost you little. By the fourth batch you will be correcting by sight and sound instead of checking a timer.

Cook the batch, then keep the guide nearby

The full collection walks each stage in order — brine, dredge, fry, rest — with the ratios, timing, and temperature ranges we use at Dave's Hots Chickens. Start with the free sample recipe, or browse the whole set.